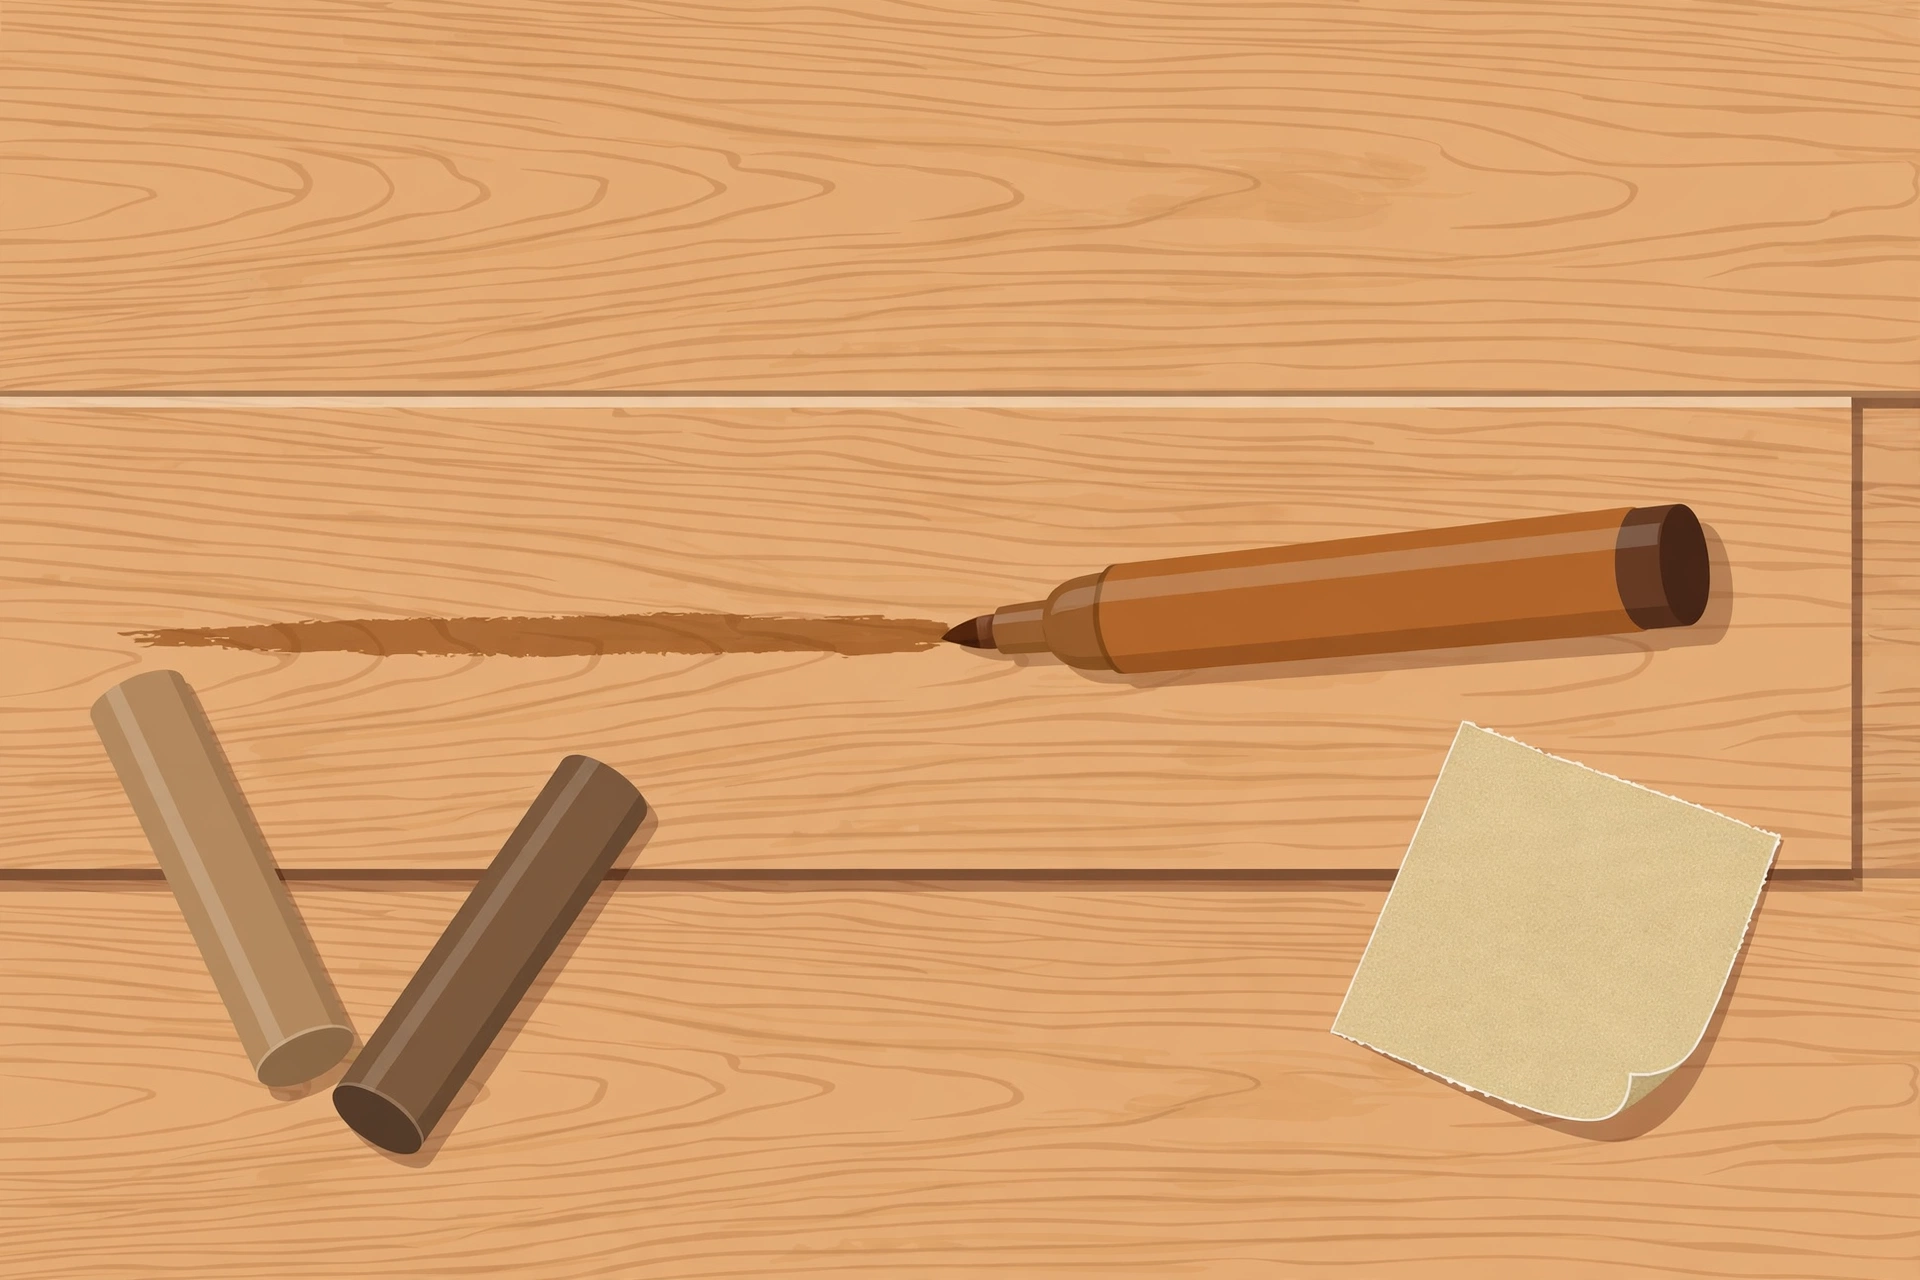
Scratches on hardwood floors are practically inevitable: chair legs drag, pet claws click across the finish, and moving furniture leaves its mark. The good news is that most scratches are fixable as a DIY project, as long as you match the repair method to the severity of the damage.
This guide walks you through a repair ladder organized by scratch severity, from quick touch-ups to full repairs, plus when the job is bigger than a weekend project and a professional refinish is the smarter move.
Before You Start: Identify Your Scratch Type
Not every mark on your floor is a scratch, and not every scratch needs the same fix. Start by assessing the damage:
- Surface scuffs: The mark sits on top of the finish. You cannot feel a groove with your fingernail, and the wood color underneath looks unchanged.
- Shallow scratches: The scratch cuts through the finish into the wood fibers but is not deep. You can feel it with a fingernail, and it looks lighter than the surrounding floor because raw wood is exposed.
- Deep scratches and gouges: Clearly visible, sometimes with raised edges or splinters. These require filler and careful spot refinishing.
- Widespread damage: Scratches cover large areas, the finish looks worn through in traffic lanes, or the wood has turned gray. No longer a spot-repair situation.
Also confirm your floor type before any sanding. Solid hardwood can be sanded and refinished multiple times. Engineered hardwood has a real-wood veneer over a core, sometimes as thin as 1 to 2 millimeters. Sanding through the veneer ruins the plank, so if you have engineered flooring and do not know the veneer thickness, skip sanding and use filler-based methods only.
While you are down at floor level, also listen for creaks, since floors with surface wear sometimes develop noises in the same high-traffic areas. A guide on how to fix squeaky hardwood floors can help you handle both issues in one pass.
The Match-Your-Finish Warning
Before applying any stain, filler, or finish, test it in an inconspicuous spot first, such as inside a closet or under an appliance. Sheen and color mismatches show far more than you expect once they are on a visible floorboard.
Wood stain darkens as it dries and as finish is applied over it, so the wet color is not the final color. Sheen matters as much as color: a glossy repair on a matte or satin floor will catch the light and stand out even if the color matches. Match the sheen of your existing finish for the final coat, and let test spots dry fully, ideally 24 hours, before judging them.
Safety Notes for Sanding
If your repair plan involves sanding, take these precautions:
- Wear a dust mask or respirator rated for fine dust. Wood dust, especially from old finishes, is an irritant.
- Ventilate the room with a window fan exhausting outward, and close doors to the rest of the house.
- Cover HVAC return vents in the room so fine dust does not get pulled into your system. Change the furnace filter after the job.
- Keep children and pets out of the room until the dust has settled and been cleaned up.
For very small spot-sanding jobs, these steps can be scaled down, but the respirator is non-negotiable.
Level 1: Surface Scuffs (Finish Only)
Surface scuffs affect only the top layer of finish. They often look like white or gray streaks, especially from rubber soles or furniture glides. Because the wood itself is untouched, these are the fastest fixes.
Clean and buff
Start with a hardwood floor cleaner made for finished wood floors, applied with a microfiber mop or cloth. Many light scuffs are just residue sitting on the finish, and a good cleaner lifts them. Follow up by buffing with a clean, dry microfiber cloth using moderate pressure. For stubborn scuffs, a tennis ball rubbed over the mark works as a gentle abrasive that lifts rubber marks without damaging the finish.
Wax filler sticks and stain markers for color
If buffing leaves a faint line, a wax filler stick or stain marker matched to your floor color can camouflage it. Wax filler sticks are crayon-like products you rub into the scuff and buff off; stain markers are felt-tip pens with wood-toned stain for hairline marks.
Both are color-matching aids, not structural repairs. Test in a hidden spot first, apply lightly, and build up color gradually. It is easier to add another pass than to remove color that went on too dark.
Typical cost: Hardwood floor cleaner runs roughly $8 to $15 in 2026, wax filler sticks and stain markers roughly $8 to $20 per set. Total for Level 1 supplies: about $10 to $30.
Level 2: Shallow Scratches (Into the Wood, Not Deep)
Shallow scratches have broken through the finish and exposed raw wood, which is why they look lighter than the surrounding floor. The goal here is to recolor the exposed wood and seal it, so it blends in and does not absorb moisture.
Wood stain markers and pens
Clean the scratch first, then apply a wood stain marker in the closest color to your floor, drawing along the grain. One pass is usually enough; a second pass deepens the color. Let it dry, then buff gently. For wider shallow scratches, layering two close shades, a base tone plus a slightly darker grain line, mimics the wood grain better than a single flat color.
Colored wood putty
For shallow scratches with a bit of width, colored wood putty fills the groove while adding color. Press it in firmly with a putty knife or your finger, then scrape off the excess so it sits flush with the surrounding finish. Let it dry per the product instructions, then lightly buff. Match the wood tone, not the finish tone; the finish applied over the top will deepen the color slightly.
Blending techniques
Blending is what separates an invisible repair from an obvious one. A few principles:
- Follow the grain. Always apply stain and putty along the wood grain, never across it.
- Feather the edges. A hard line where the repair stops will catch the eye. Lightly feather color outward so it fades into the surrounding floor.
- Seal the repair. Once color-matched filler is dry, protect it with a thin coat of matching polyurethane, wipe-on finish, or floor finish pen in the right sheen. Raw filler left unsealed attracts dirt and wears differently than the rest of the floor.
Typical cost: Wood putty runs roughly $6 to $12 per container, stain markers $8 to $20 per set, and a small can of wipe-on polyurethane roughly $10 to $18. Total for Level 2 supplies: about $20 to $45.
Level 3: Deep Scratches and Gouges
Deep scratches and gouges remove enough material that color alone cannot fix them. The scratch needs to be filled, smoothed, and refinished. This is the most involved DIY level, but it is very doable with patience.
Step 1: Clean and prep
Clean the area thoroughly and let it dry. If the gouge has raised or splintered edges, carefully trim them with a sharp utility knife so the filler has a clean cavity to sit in. Do not dig the scratch deeper.
Step 2: Fill
For deep scratches, a stainable wood filler or a provides color-matched filler plus application tools. Press the filler firmly into the gouge with a putty knife, slightly overfilling. Filler shrinks as it dries, so one overfilled application beats an underfilled one. Let it cure fully per the product instructions, usually a few hours to overnight.
Step 3: Sand smooth
Once the filler is fully cured, sand it flush with the surrounding floor using fine-grit sandpaper, typically 180 to 220 grit. Only sand the filled area. Use a small sanding block, keep strokes along the grain, and check with your fingertips until the repair feels level with the floor around it.
This is where the engineered-floor warning matters most: do not sand through the veneer. If you have engineered hardwood and are unsure of the veneer thickness, do not sand at all. Use filler-only methods or call a professional who can assess the floor. Over-sanding a thin veneer exposes the core layer beneath, and that damage cannot be fixed with filler.
Step 4: Color and seal
After sanding, the filler will need color. Apply stain or a stain marker to match the surrounding wood, let it dry, then seal with a matching finish. Apply thin coats of polyurethane in the same sheen as your floor, feathering slightly beyond the repair so there is no hard edge. Two thin coats beat one thick coat. Let each coat dry fully, and lightly scuff between coats with 220-grit sandpaper for adhesion if the instructions call for it.
Typical cost: A hardwood floor repair kit runs roughly $15 to $40 in 2026, sandpaper and putty knives $5 to $15, and a small can of polyurethane $12 to $25. Total for Level 3 supplies: about $30 to $80, assuming you already own basic tools.
Level 4: When to Call a Pro or Refinish the Whole Floor
Spot repairs have limits. Call a professional or plan a full refinish when you see any of the following:
- Scratches across a large area. When damage spans whole rooms or traffic lanes, spot repairs look patchy. A full sand and refinish gives a uniform result.
- Worn-through finish. If the finish is gone in high-traffic areas and wood is exposed over wide sections, the floor needs fresh finish everywhere, not just where scratches are.
- Gray or weathered wood. Wood that has turned gray has been exposed to moisture or UV without finish protection for a long time. Graying often runs deeper than the surface, and a pro can determine whether it sands out or boards need replacement.
- Engineered floors with thin veneer. If your engineered floor has a thin wear layer, or a previous refinish already removed material, there may not be enough veneer left to sand safely. A flooring professional can measure the wear layer and advise whether a recoat, screen-and-recoat, or replacement is right.
- Deep structural damage. Gouges that reach the tongue-and-groove, cracked boards, or water-stained subfloor areas are beyond cosmetic repair.
What professional refinishing costs
As a rough 2026 reference, professional refinishing typically runs about $3 to $8 per square foot, depending on region, floor condition, and finish choice. A screen-and-recoat, where the existing finish is lightly abraded and a fresh topcoat applied without full sanding, runs about $1.50 to $3 per square foot and suits floors whose finish is dull or lightly scratched but whose stain and wood are intact. Refinishing 500 square feet therefore lands roughly in the $1,500 to $4,000 range. Get two or three quotes, and ask whether each includes stain, how many finish coats, and the expected timeline.
Preventing Future Scratches
Repairs last longer when you stop new scratches from forming. The highest-impact habits:
- Put felt pads under all furniture legs, and replace them when they wear flat or pick up grit.
- Use doormats at every entrance and remove shoes when practical; tracked-in grit is the top cause of fine scratches.
- Keep pet nails trimmed, and consider rugs or runners in the paths pets use most.
- Lift furniture to move it; dragging is the fastest way to gouge a floor.
- Sweep or vacuum with a hard-floor attachment regularly so grit is not ground in underfoot.
FAQ
Can I use a stain marker on any hardwood floor color?
Stain markers work on most stained hardwood floors, but matching is the challenge. Unusual or custom stain colors are harder to match with off-the-shelf sets. Always test in a hidden spot first, and for very dark or very light floors, layering two close shades usually blends better than one.
Will wood filler be noticeable on my floor?
It can be if the color or sheen does not match. The keys are choosing a filler that matches the bare wood tone, applying stain over the filler to blend it, and sealing with a finish in the same sheen as the surrounding floor. Feathering the repair edges along the grain also helps it disappear.
How do I know if my floor is solid or engineered hardwood?
Pull up a floor register or check a transition strip to see a plank cross-section. Solid hardwood shows continuous grain through the full thickness; engineered flooring shows a thin top veneer over layered plywood or composite core. Leftover boxes or builder documentation can also confirm it.
Can I sand out scratches on engineered hardwood?
Only if the veneer is thick enough, generally 3 millimeters or more of wear layer, and only with great care. Many engineered floors have veneers of 2 millimeters or less, which do not tolerate sanding. If you do not know your veneer thickness, do not sand; use filler-based repairs, or have a professional measure the wear layer.
How long does a spot repair take?
A Level 1 scuff touch-up takes 15 to 30 minutes. A Level 2 shallow scratch repair takes 30 to 60 minutes plus drying time. A Level 3 deep gouge repair is typically a half-day project because filler needs hours to cure and finish coats need drying time between applications. Respect the full cure times rather than rushing.
Should I use oil-based or water-based polyurethane for spot repairs?
Use whichever type matches what is already on your floor, since adhesion and appearance are best with like-on-like. Water-based polyurethane dries faster, has lower odor, and stays clearer over time; oil-based adds a warm amber tone that deepens with age. If you do not know what is on the floor, water-based is usually the safer default for a small spot repair, and a closet test will confirm compatibility.
Can deep scratches be fixed without refinishing the whole floor?
Yes, in most cases. A single deep scratch or a small cluster can be filled, sanded flush, color-matched, and sealed with spot refinishing. Whole-floor refinishing becomes necessary when scratches are widespread, the finish is worn through across traffic areas, or the wood has grayed.
How much does it cost to have scratches professionally repaired?
For minor professional spot repairs, expect roughly $100 to $300 per area depending on your market. A professional screen-and-recoat runs $1.50 to $3 per square foot, and full sanding and refinishing runs $3 to $8 per square foot. These are rough 2026 ranges; get at least two or three local quotes before committing.